fbpx
Mr.LaundromatMr.Laundromat
HOLIDAYS ARE HERE

HOLIDAYS ARE HERE: REMOVING FRESH RED WINE STAINS FROM ANYTHING

It only takes a small, clumsy gesture to spill a glass of red wine. You are at a dinner party or home enjoying your wine; without knowing how you end up with your clothes, carpet, or sofa stained with red wine. Before you get devastated and panic, don’t forget that there is always a solution to any problem. In These holidays, the time of Christmas and new year with family gatherings, this situation can help more than you think.

The following tips will help you remove a red wine stain from clothing, rugs, carpet, sofa, and more. 

Let’s talk first about things to avoid

DON’T SCRUB THE STAIN; BLOT IT 

Scrubbing will help remove some of the red wine but can complicate  the situation on hand  as it will cause it to spread even more outward. And, if you apply too much pressure, you will push more red wine deeper into the fabric, specifically if you are dealing with a stain of red wine on the couch or the carpet.

DON’T WAIT TOO LONG 

While it is tedious to deal with a red wine stain immediately, we do not recommend that you wait until the next day to take care of it. The red wine will soak in and settle in these fibers the longer they stay. Eventually, they will “stick” and become more difficult to remove. 

Now what about some steps to take to remove wine stains while enjoying time with loved ones during these holidays time 

1- USE TABLE SALT 

The time you allow it to pass from the moment the stain occurs is crucial. It will always be easier to deal with a fresh wine stain than clean it once the liquid has dried. In this case, one of the first actions you can take when facing a fresh wine stain is to resort to table salt.

Even though salt will not immediately remove the stain, it is still not a useless reaction; applying the salt directly on the stain will help absorb the humidity of the wine more quickly, preventing it from spreading to the fabrics. After you’ve wiped off the stain, to remove what you can, try dabbing it with a bit of cold water, then apply a lot of salt to the affected area. Let sit for five minutes at least to absorb more wine.

In any case, if you apply salt to the stain, you should not leave it too long, as this could fix the wine stain more strongly. 

2- APPLY BAKING SODA AND WHITE VINEGAR 

For this red wine stain removing method,

you can apply a generous amount of baking soda directly to the stained area, or you can also try making your own liquid solution to remove stubborn stains

Here are some homemade solutions you can put together 

  • Mix a small quantity of water and baking soda in a small pot until you get a pasty mixture 

Or 

  • Add 1/4 cup of baking soda and 1 tablespoon of white vinegar in a small bowl and mix to get a paste.
  • Put the mixture on the wine stain and allow it to dry completely.

Once you have entirely covered the stain, allow it to air dry, then blot again. Repeat the steps until you get the best results. 

3- USE CLUB SODA 

 The minerals added to club soda may help absorb and break up the red wine molecules, making it easier to blot up.

  • Pour club soda over the stain and leave it for at least 10 minutes to twinkle and soak. The carbonation will help dissolve the red pigments.
  • Then, use a clean sponge, towel, or other cloth to soak up the liquid. Soak again and repeat if necessary. 

4- APPLY BOILING WATER AND BOT THE STAIN 

Dry heat is very different from moist heat. Hot water is a wonderful substance, mainly when applied to other materials as a cleaning agent. It can dilute and spread the red wine a bit. The hot water will also make the molecules of the red wine lose some of the cohesion of the molecules of the red wine with the fabric, which makes it easier to clean. 

5- APPLY WHITE VINEGAR AND LAUNDRY DETERGENT 

In this process:

  • Firstly, cover the stain with white vinegar; 
  • Secondly, apply liquid detergent. The vinegar will neutralize the red and purple pigments in the wine while the detergent cleans the fabric. 
  • Finally, Wash in hot water until the stain is gone.

6- TRY OXY CLEANER 

Oxy cleaners use sodium percarbonate, which converts into hydrogen peroxide when combined with water. 

  • Apply it to the stain and wait 20 to 60 minutes before dabbing.

If you don’t have an oxi cleaner, you can create your own! 

  • Mix 3parts hydrogen peroxide and 1 part dishwashing liquid and try the same process.
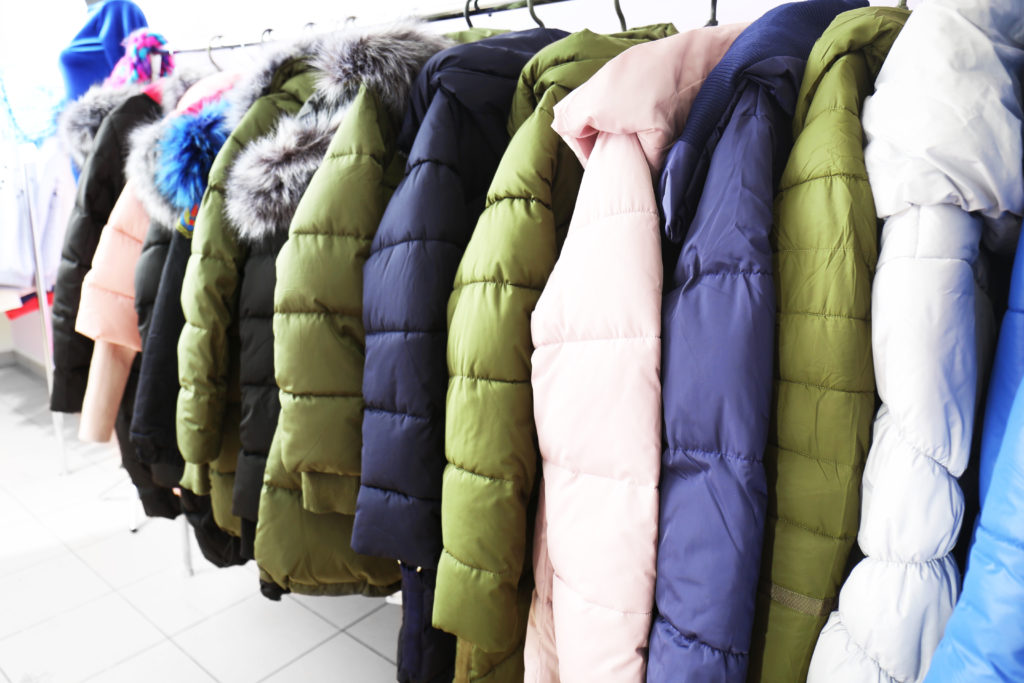
Washing Winter Coats

Taking care of your winter coats during wintertime

Daylight saving time has already ended in our regions. Winter is here, and we have to change our dressing according to the weather. 

Many think that we don’t need to wash our winter coats, and they have reason at a certain level. Others forget to find time to wash their winter coats before the arrival of winter. Anyway, we have to wash them from time to time to avoid moths, itchiness, or even lead to rashes, and you can do it now. Here are some recommendations for you to succeed in it.

1- Read the care tag and follow the instructions: When you decide to wash your winter coat, the first step is to check the care tag for instructions. The care tag has the information needed, and it helps you know if your jacket is machine-washable, the appropriate wash cycle and water temperature, the detergent, and how to proceed to dry it.

2- Pre-treat stains: If you didn’t wash your winter coat all season, it might have some stains from food, sweating, and smell. To succeed in this, use a stain remover to pre-treat these stains. Just apply the treatment on every stain, let it soak for about 10 minutes before putting it in the machine, or scrubbing it with a wet cloth.

3- Fasten all buttons and zippers: The zippers’ metal teeth can damage other clothes in the washing machine. To avoid this, make sure you zip, fasten, and button everything on your coat before washing it. 

These actions help your coat retain/maintain its shape during washing.

4- Put similar materials in the machine together: When you rub together certain opposite materials, it can pill, fade, or destroy your clothes.

To maintain your coats on their top quality, wash them separately or with clothes of similar materials. Always wash your clothes by following instructions on the tags or researching if you don’t have enough information. wool with wool, nylon with nylon, fleece with fleece, and so on.

Caution: When your Fur Coats, Leather Jackets, or Suede are dirty, don’t take on yourself to wash them at home. Please bring them to the best Laundromat near you, your local dry cleaner, for high-quality cleaning. Mr. Laundromat is equipped to help you clean every kind of winter coat for a full-satisfaction.

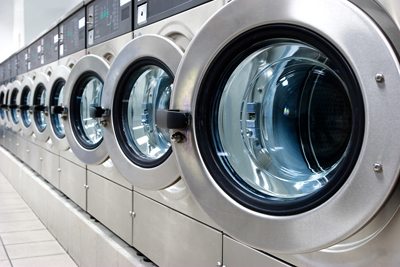
washing machine

How to clean your washing machine

The image that comes to our mind when we think of a washing machine is cleanliness and a well-smelling place. However, a washer can be dirty and smelly, creating an uncomfortable laundry room and prompting us to seek a solution.

Below are the materials and steps to follow in cleaning your washing machine deeply. You still have to get your washers seen periodically by experts in the field. 

Materials needed:

  • White vinegar
  • Baking soda 
  • Hydrogen peroxide (in case you have mold)
  • Rag
  • Toothbrush 

Step 1:

You have to begin by wiping down every nook or cranny from the drum. Just dip a rag in a little vinegar and use it to clean. Do not use anything that can damage glass.

After that, tackle the rubber gasket; use a toothbrush to clean the layers and get to the spots hard to reach. If you have mold or mildew in this area, dip your toothbrush or rag in peroxide to wipe it away, it will help kill it.

CAUTION: To avoid mold, never leave damp clothes in the machine.

Step 2:

Now that the outside is clean, let’s continue with the inside. Fill the liquid detergent dispenser with one cup of vinegar or two if your machine is bigger. This action will make the acid present in the vinegar disinfect your machine and break down any hard water or soap scum. 

Step 3:

Fill your washing machine with hot water, then let it run without any cloth inside (to do this, just set it on the hottest cycle and full-load setting).

Step 4:

This action is not so different from the previous one. Fill your machine with hot water again, but in this case, you will add 1/3 cup of baking soda and let it run for some minutes. It will help to eliminate odor or some scum that persists in the machine. If you do not have baking soda, you can use 1 cup of vinegar but make sure not to mix the two as they can neutralize each other if you put them together.

Now that your washing machine is clean, open the door to dry the interior. If this seems tedious for you, make sure you look for an expert. And if you are looking for the best laundromat near you in Garner, contact us.

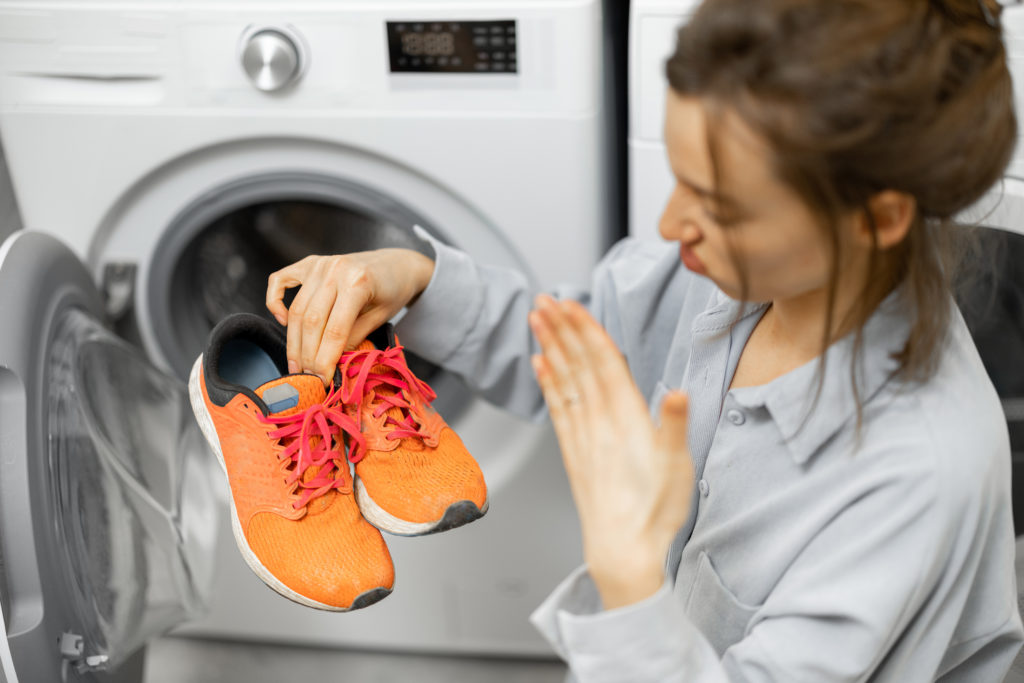
Washing Sneakers or Merrell

Washing Sneakers or Merrell in a washing machine

Whenever you need to wash your shoes, it’s still important to do some preparation work to keep your sneakers/Merrell from getting damaged by the machine. Here are the steps you have to follow to get your sneakers to look bright and clean in above 40 minutes.

Washing sneakers:

Dirty sneakers; a washing machine; liquid detergent; 3 tablespoons of baking soda; a pillowcase or wash bag; a sneaker brush cleaner; several towels(preferably the ones you’re no more using)

Steps to follow:

Firstly, sprinkle sneakers with three tablespoons of baking soda in each shoe the night before and leave it overnight. Remove it in the morning.

 Secondly: Remove the laces and put them inside a pillowcase or wash bag to prevent them from getting tangled—place them in the washer. Wipe as much mud and debris off your sneaker as possible with a brush cleaner or an old toothbrush.

Thirdly: Next, add your shoes to the washer along with some towels. We recommend about 4 to 6. Putting towels will help to balance the load and prevent your sneakers from slapping loudly against the inside of your washer.

Furthermore: Choose liquid detergent, run the washer on a cold delicate cycle. According to your washer, the wash time may take from 30 to 40 minutes.

Finally: Let your sneakers air dry after removing them from the washer. AVOID putting shoes in the dryer, as the heat may warp them or damage the glue that keeps them together.

 ∎ Five tips for Washing Merrell Shoes

When your Merrell shoes are looking a little dirty to wear lately (and maybe are smelling bad), you might be tempted to put them in the washing machine to clean them. Before adding the detergent, check out our tips below on safely cleaning your Merrells shoes so you can get your shoes looking nice and new again without damaging them. Merrell officially recommends hand-washing for all of their shoes. However, some people successfully wash their Merrells shoes in the machine even though it’s not recommended.

 Here are some pieces of advice:

  • Put your shoes into the machine with a load of clothes and add the usual amount of detergent. Choose a warm or cold water cycle. When you finish, let your shoe air-dry overnight.
  • Feel free to remove the laces/ insoles or not; they’ll get clean if you leave them as is.
  • To cushion your shoes, make sure you add clothes or a couple of towels to the machine.
  • To get your shoes dry rapidly, prop them up in front of a fan or under the sun.

The following shoes are not suitable for washing machines and should be given to professionals:

 Leather or dress Shoes; Suede; Rubber boots or wellies.

Tips for Hard-to-Wash Household Items

5 Tips for Hard-to-Wash Household Items: Shoes, Pillows, and More

You wash your clothes every week or two, but there are plenty of other items around the house that need regular care and cleaning as well. From curtains to rugs to shoes, these items are often lost in the shuffle or simply put off because they are harder to clean. But we can help demystify the process. Here are 5 tips for washing hard-to-wash household items.

Pillows. Pillows should be washed every three months. They can usually be machine washed. It is important to wash an even number of pillows– two, four, six, etc– so the washer’s drum will be balanced. The best water temperature can depend on the filling as well as the material of the casing, so check the care label for specific instructions. If the pillow doesn’t have a label, err on the side of caution and use cold water.

Curtains. Although often overlooked for years (or decades) at a time, curtains should typically be washed every six months. If you have pets, you may need to wash them more often. Curtains usually need to be washed using a machine’s “Delicate” cycle, in cold water. Depending on the fabric, though, you may need to put the curtains in a washing bag or hand wash them. Like clothes, curtains come with labels, so check the care label for specific instructions to ensure they come out of the washer as bright and hole-free as they went in.

Small Carpets and Rugs. Rugs that are used often, like bathroom rugs and front-door carpets, should be washed weekly, or monthly at least, to prevent a buildup of bacteria or fungi. First, check the label to confirm that it can be machine washed, as some carpets have synthetic backings that can’t handle the wear and tear of a machine. Treat any stains and wash in cold water. Unless the label indicates otherwise, it is best to air dry rugs rather than put them in the dryer, as heat can cause them to shrink.

Sneakers. When was the last time you cleaned your shoes? For most people, the answer is “never,” aside from wiping off dirt or mud on the outside. But the inside of the shoe is exposed to sweat and oil frequently, so it should be cleaned as well. Fortunately, with a little extra care, you can wash sneakers in a washing machine like your other clothes. First, sprinkle 2-3 tablespoons of baking soda inside each shoe and leave them overnight to disinfect them and help remove stubborn odors. Clean the outside as best you can with a damp cloth or toothbrush. Take off the laces, place the sneakers in a washing bag, and wash them in cold water on a delicate cycle. Air dry them, either inside or outside in the sun, as the heat from a dryer can warp or damage the material in the shoes.

Sleeping bags. Unlike most other household items, it is fine to go months or years between fully washing sleeping bags. Full washes reduce the “fluffiness” of the stuffing inside the bag and wear down the material of the shell. It is best to spot treat sleeping bags in the hood and collar areas, which have the most frequent exposure to skin and hair. Use a non-detergent soap and a toothbrush to clean visibly soiled areas. However, if your sleeping bag has an unpleasant odor or is just very dirty, you probably need to wash it completely.  Use a large front-loading washing machine like the commercial machines at laundromats. Home units, especially ones designed for energy efficiency, may not give the sleeping bag enough room to tumble properly during the wash. Wash cold on a delicate cycle.

Consult an expert. With years of experience under their belts and an extensive knowledge of fabrics and detergents, cleaning professionals know the best way to clean hard-to-wash household items without damaging them in the process. Some even have specific services for carpet cleaning and sleeping bag laundering. Consult your local laundromat to see if they offer pick-up and drop-off services to make your laundry life even easier.

1 4 5 6 7 8 15


Free Quotes

Receive a complimentary price quote for cleaning services that will fit your needs and your budget

  • This field is for validation purposes and should be left unchanged.

Get A Quote

Do you need a free quote to see how much we can save your business? Just enter the information and we will promptly return a quote. Let us know the types of linens you need serviced and how much your business runs through a week.

Open 362 Days a Year!

Open 7 Days a Week!! Monday - Friday 8:00am to 8:30pm (Last wash is at 8:00), Saturday - Sunday 7:30am to 8:30pm (Last wash is at 8:00). We only Close for Christmas Day, Thanksgiving Day, and the 4th of July!